I have been experimenting with vegan recipes lately in an attempt to eat more plant based and what better than some homemade vegan ravioli? If you’re looking for a regular (non-vegan) ravioli recipe check out my popular Homemade Mushroom Raviolis. Can you tell I love pasta? I did make 83 raviolis today! I use a mold and it makes my life so much easier! This is the exact mold I use
I have been wanting to try my hand at making some “vegan cheese.” Do a google or Pinterest search. Some of them look good right? So I thought it would be the perfect time to try a vegan ricotta cheese. I decided on Cashew Ricotta Cheese from The Simple Veganista. I made it exactly like she says but I used an extra tablespoon of nutritional yeast for more cheesy flavor.
So… I didn’t love it on its own to be honest. I had high expectations. I probably won’t make it again. Not because it was a bad recipe, but because I expected it to taste different. That being said, I do like it in combination in the ravioli. They are so good, no weird unexpected tastes or textures! Then again, I’ve never met a pasta I didn’t like.
If you aren’t up for making the cashew ricotta cheese, you could double the mushroom and peas. I might do that next time because I love the sweet flavor of the peas and the meaty mushrooms!
A couple dough tips: If you want to make your dough whole wheat, don’t do more than half of the flour mixture whole wheat. Your dough will be too tough and hard to work with. Also if you’re into colored dough, throw some spinach in a blender with the water for the recipe then combine as usual. Super easy!
- 4 cups unbleached all-purpose flour
- 1.25 cups water
- 1 TBS oil
- 1 tsp salt
- Cashew Cheese (mentioned and linked above)
- 1 pint mushrooms
- 2 cups frozen peas
- Large handful of fresh basil
- Salt to taste
- Pepper to taste
- Prepare the Cashew Cheese as directed from the simple Veganista (I doubled the nutritional yeast).
- Wash mushrooms, process in food processor until your desired consistency.
- Season with salt and pepper and heat in a non-stick skillet until cooked through, no oil needed.
- Once the mushrooms are cooked they may need to be drained slightly before adding to cheese mixture.
- While mushrooms are cooking defrost peas on the stove-top, season with salt and pepper.
- Once peas are defrosted add them to a food processor with your fresh basil.
- Process the pea mixture until your desired consistency.
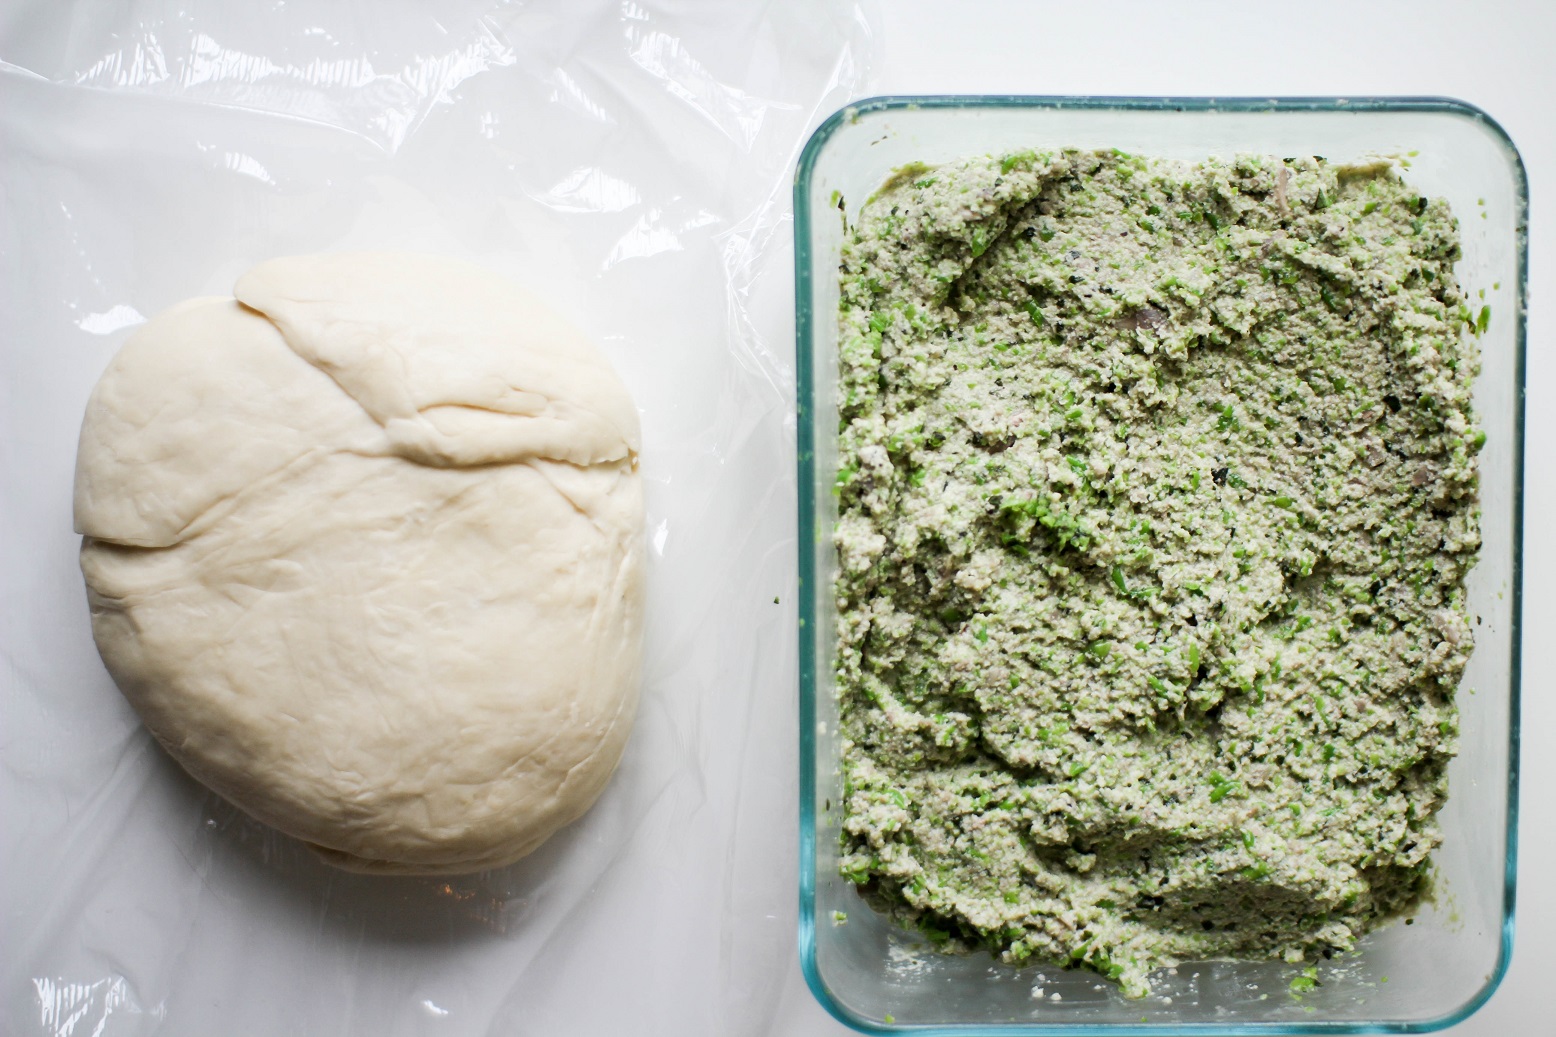
- Combine all the ingredients, let sit in fridge until cool while you make dough.
- You can use a bowl and finish by hand on the counter, you can use a dough hook with a mixer, or you can use a bread machine to mix. I chose the bowl and hand method.
- Sift flour into a large bowl.
- Make a well and add the water, oil, and salt.
- Begin to mix by slowly adding the flour into the water around the well.
- Once mixing becomes too hard to do in the bowl, dump the mixture onto a floured surface and knead until combined.
- I like to knead it for a few minutes, lay a towel over it to let it rest, then return and repeat a few times until I have a nice smooth dough.
- Wrap it in plastic wrap and let it rest on the counter for a minimum of 20-30 minutes.
- Once your dough has rested- Cut 2 sections of dough (one top, one bottom) and roll them out to fit your ravioli mold.
- Roll your dough as thin and as evenly as you can without ripping it, making sure that it is even thickness all around. If you have a pasta maker, make sheets of dough with it. They should be the perfect size for the mold.
- Place the dough on the metal part of the ravioli mold that has been sprayed with non-stick spray (**see note at bottom if you do not have a mold). Fit the white piece on top and set it aside while you roll out another piece of dough for the top.
- Remove the white part of the mold.
- Using a tablespoon, fill each hole in your dough on the ravioli mold. Make sure to completely fill the hole pushing out all air.
- Using your finger or a small pastry brush, paint the dough with some water, this will help glue together the dough.
- Lay the bottom layer of dough on top carefully making sure to not seal in any air.
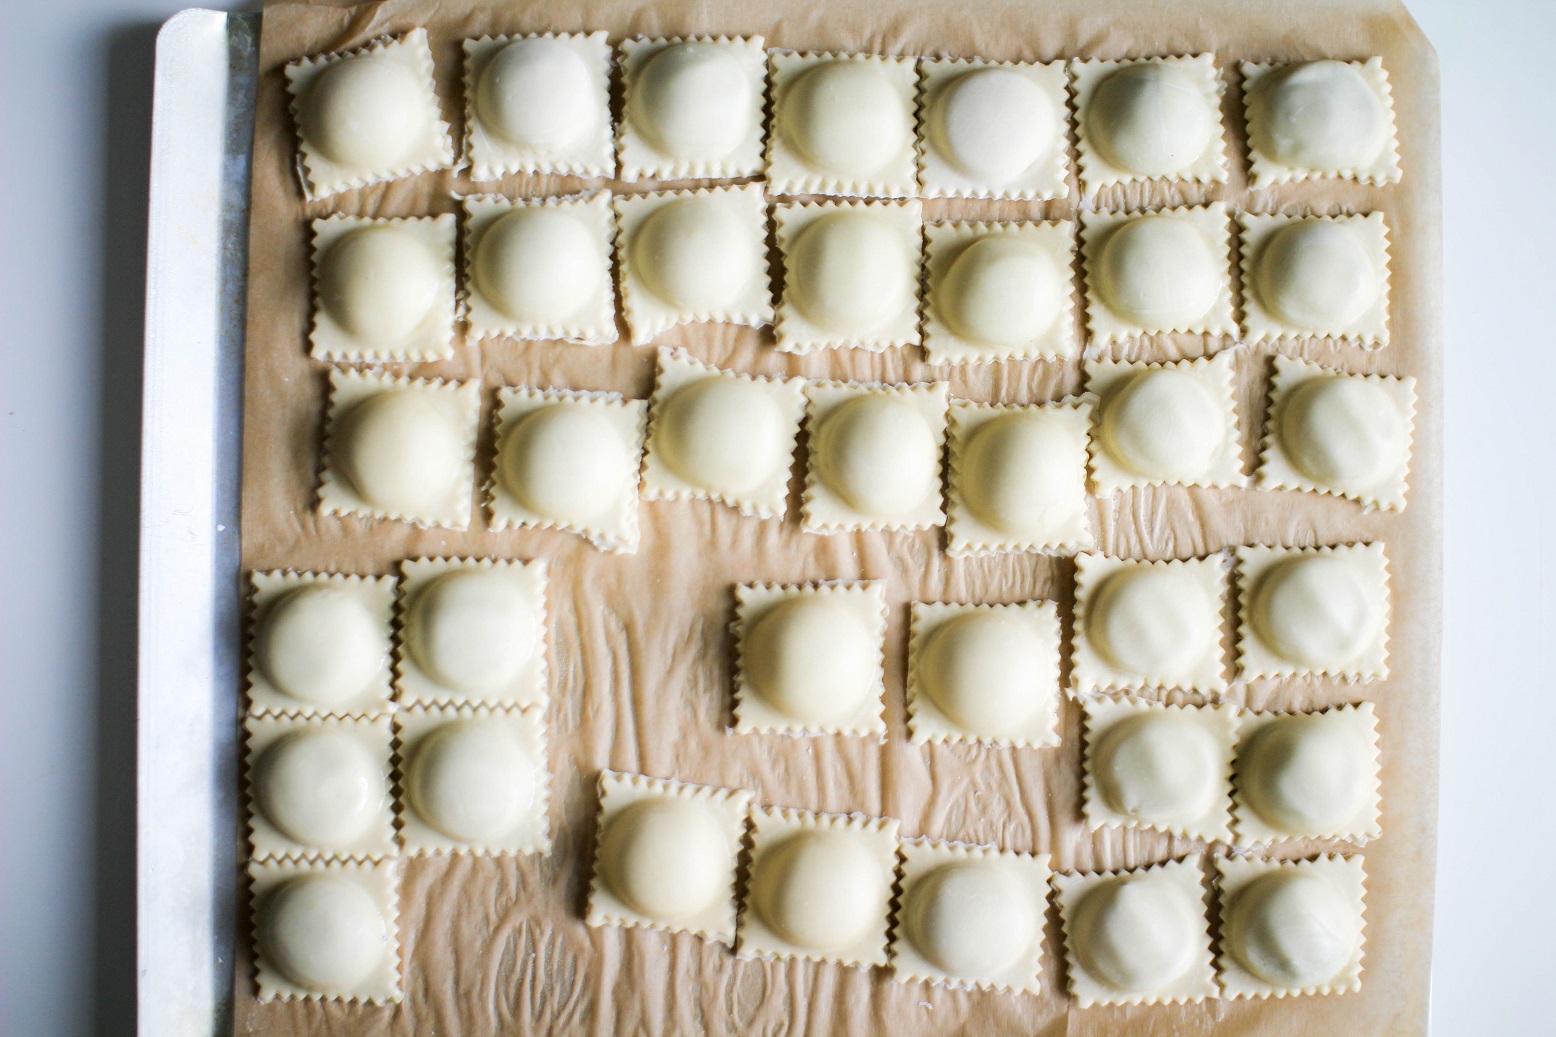
- Run your rolling pin over the mold to cut the ravioli.
- With the scraps that are left, lightly wet your hands and kneed it back into a ball and wrap it in plastic wrap to rest again. You will be able to keep reusing the scraps to get the most of your dough. I made 83 raviolis.
- Set the cut ravioli on a flat baking sheet with parchment paper to allow it to start drying.
- You may put the cookie sheet in the freezer at this point.
- Once frozen store them in a freezer bag and cook when you are ready.
- Bring a large stock pot of water to a boil.
- Boil for 10-14 minutes if from frozen, if fresh about 5 minutes should do it.
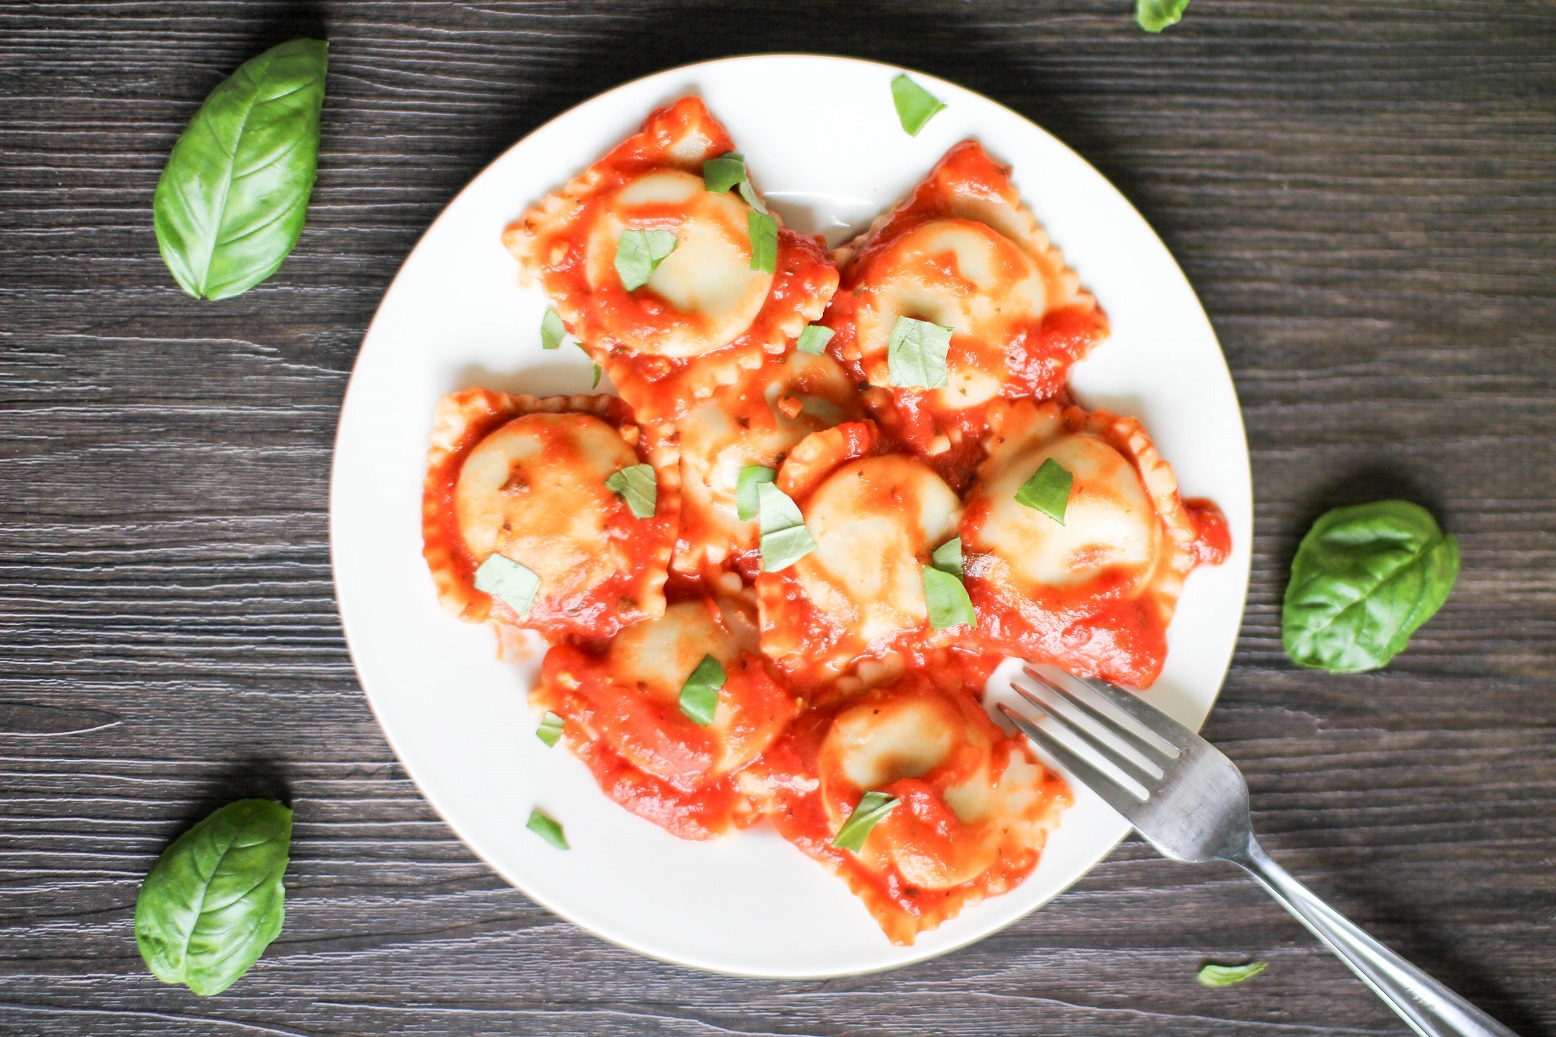
- Drain and serve with your favorite marinara and basil, or olive oil and basil.
- * You may wish to use cake flour for more tender pasta. It has less gluten (protein) which is what makes the dough slightly more dense, or tough.
- **A ravioli mold is not necessary but does make the process much easier and quicker. There are a few other methods you could use.
- Roll out 2 pieces of dough, top and bottom. Place 1 TBS of filling a couple inches apart. Lay the top dough on and carefully remove all air. Then cut with a ravioli roller cutter, stamp, or a knife. You may want to seal the edge with a fork imprint.
- OR
- Roll 1 layer of dough out. Use a large round cookie cutter or cup to cut circles in your dough. Put a TBS of filling in the circle. Fold it in half to make a half moon shape making sure to remove all the air. Seal the edges with a fork imprint.
Oh my goodness! In all of my 8 years of being vegan I have completely forgotten how much I love ravioli! Now I'll be able to make it. I also love cashew ricotta cheese in lasagna rolls - It's to die for. Thank you for posting this!
http://www.nialogique.com